01
Counter first
Let the slab movement, cabinet color, and finished counter height set the backsplash context.
Backsplashes
The backsplash can quiet a dramatic counter, carry its movement upward, or become the focal point on its own. Plan it with the countertop, cabinets, range, hood, windows, outlets, and exposed edges in view. Then decide pattern scale, center lines, cuts, grout, trim, and whether any area becomes full-height slab.
Project planning guideSee the project planning sequence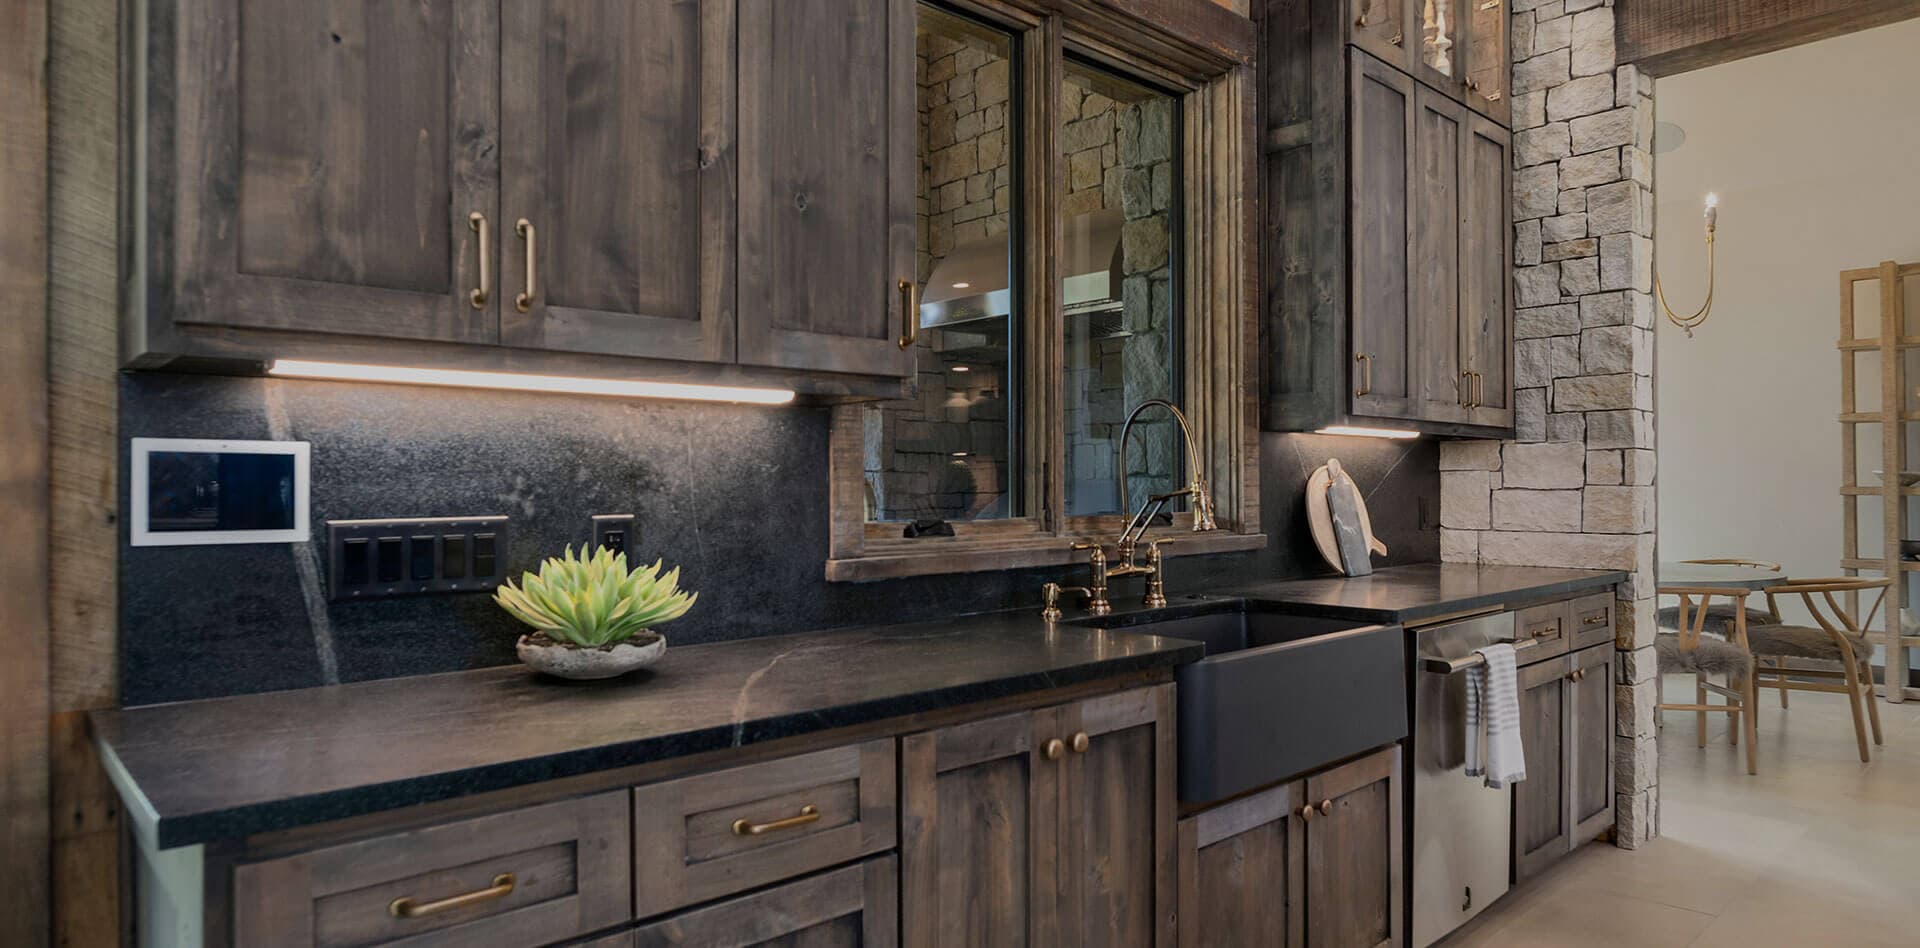
Let the room set the pattern
01
Let the slab movement, cabinet color, and finished counter height set the backsplash context.
02
Mark windows, upper cabinets, open walls, hood, range, side returns, and exposed outside edges.
03
Plan center lines, focal areas, outlet cuts, row heights, trim, and how corners turn.
04
Choose joint width, color, cleaning expectations, and product suitability for the range and sink zones.
Study starts, stops, and scale
The waterline tile gives the pool a durable visual edge while coordinating with coping, deck color, and the surrounding outdoor space.
Tile scale and grout can either quiet the counter or compete with its movement.
A full-height stone splash should be assigned during slab layout, not after cutting.
Bring the actual cabinet, counter, and tile samples into the same light before ordering.
Geometric tile makes layout, cut balance, and grout decisions especially visible.
Pattern scale, grout, and room direction affect how a long-format tile floor reads.
Wet rooms add slip, drainage, waterproofing transition, and maintenance decisions.
Balance the counter and wall
Plan the next step
Bring wall photos, counter and cabinet samples, appliance details, and tile candidates. We will help set the layout before ordering or cutting begins.