01
Room and traffic
Identify wet areas, entries, pets, furniture, rolling loads, cleaning, and slip needs.
Tile floors
A floor sets the visual rhythm of every cabinet, wall, and doorway it crosses. Choose it by room use, substrate condition, flatness, moisture, traffic, slip needs, cleaning, pattern, grout, and transitions. Large tile can reduce joint count but makes an uneven floor more visible, so the finish direction and installation system need to be planned together.
Project planning guideSee the project planning sequence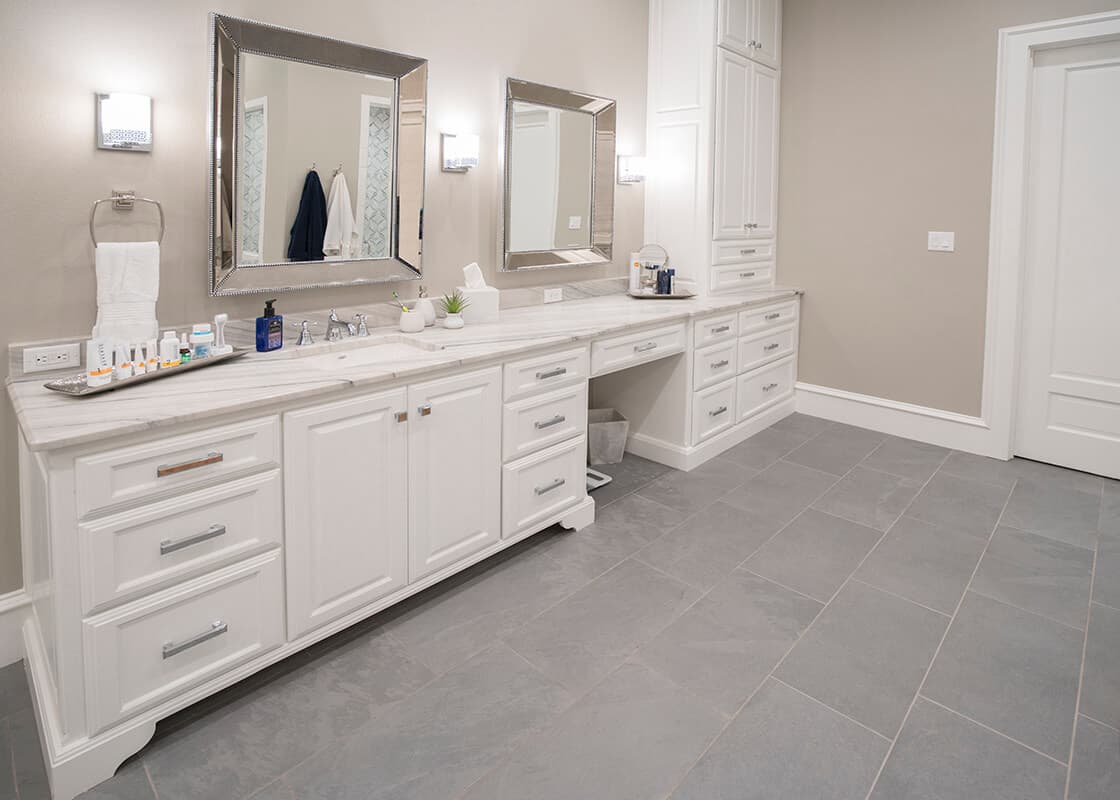
Plan from the floor up
01
Identify wet areas, entries, pets, furniture, rolling loads, cleaning, and slip needs.
02
Have the responsible installer assess movement, moisture, cracks, level changes, and preparation.
03
Test tile size, direction, center lines, cut balance, and how the pattern crosses connected rooms.
04
Plan thresholds, stairs, base, cabinets, doors, adjacent floors, grout, trim, and expansion details.
See scale across a finished room
The waterline tile gives the pool a durable visual edge while coordinating with coping, deck color, and the surrounding outdoor space.
Tile scale and grout can either quiet the counter or compete with its movement.
A full-height stone splash should be assigned during slab layout, not after cutting.
Bring the actual cabinet, counter, and tile samples into the same light before ordering.
Geometric tile makes layout, cut balance, and grout decisions especially visible.
Pattern scale, grout, and room direction affect how a long-format tile floor reads.
Wet rooms add slip, drainage, waterproofing transition, and maintenance decisions.
Match the product to the room
Plan the next step
Bring room dimensions, substrate information, connected-floor photos, and tile candidates. We will help connect the finish choice to layout and installation requirements.